Stay safe. Follow procedures in the Operation Manual. Always use proper protective equipment, fully power down machines and use locks before service. Salford is not liable for injury or damage caused by improper maintenance or operation. Contact your Salford dealer for more information or support.
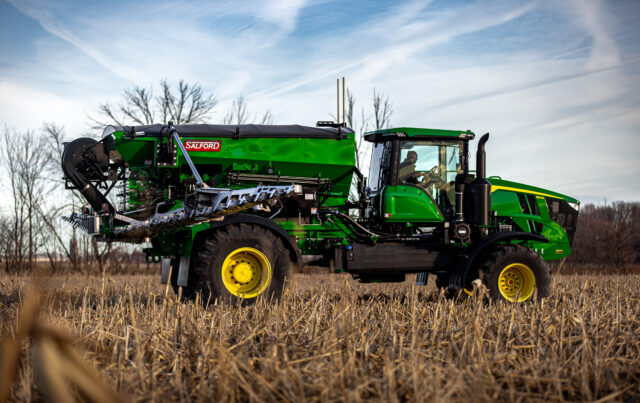
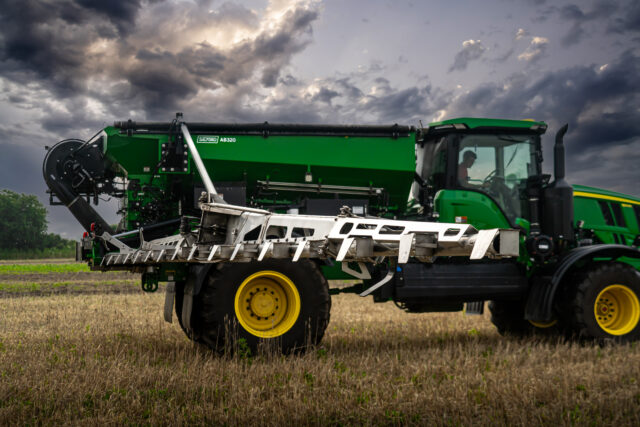
Here is a detailed review of how to set up bin chaining on an AB350 and AB320 multi-bin machine using the Raven RCM and VIPER 4+ display. This feature is great for users who wish to apply a single product across multiple bins.

Step-by-Step Instructions
- Access the Settings on the Viper 4+ Display: Navigate to the settings menu on your Raven Viper 4+ display.
- Select “Bin Setup”: Locate the “Bin Setup” option from the available settings.
- Enable Bin Chaining: Within the bin setup options, toggle the bin chaining feature to “ON.”
- Configure Bin Order: Set the order in which the bins will empty. Ensure that the rear bin is set to empty before the front bin to ensure proper weight distribution.
- Calibrate Low Bin Level Sensors: Check that each bin’s low bin level sensor is properly calibrated. This ensures the system will switch to the next bin when the product level reaches the low threshold.
- Save Your Configuration: Once you’ve enabled bin chaining and set the bin order, save the configuration to apply the settings.
Tips and Troubleshooting
- Always calibrate the low bin level sensors before starting a new application to avoid missed switches between bins.
- Ensure that the system software is up-to-date to take advantage of the latest bin chaining features and bug fixes.
- If the system fails to switch bins automatically.
- Solution: Check the low bin level sensors for proper functioning and recalibrate them if necessary.
By following these steps, you can effectively set up bin chaining on your Raven Viper 4+ Display. This feature will streamline your workflow by ensuring a smooth and continuous product application.
For more detailed instructions, check out our YouTube video on Bin Chaining on Raven Viper 4+ Display. Don’t forget to subscribe to our channel for more helpful videos.
For additional support, contact your Salford dealer or visit the Salford Connect Portal.